In my previous article, I broke down how Jupiter Swap works and demonstrated how you can 10x your dApp development speed when creating React hooks powered by Jupiter’s APIs for seamless swap integration.
But what if I told you that you could 100x your speed and build a dApp with full swap functionality in record time?
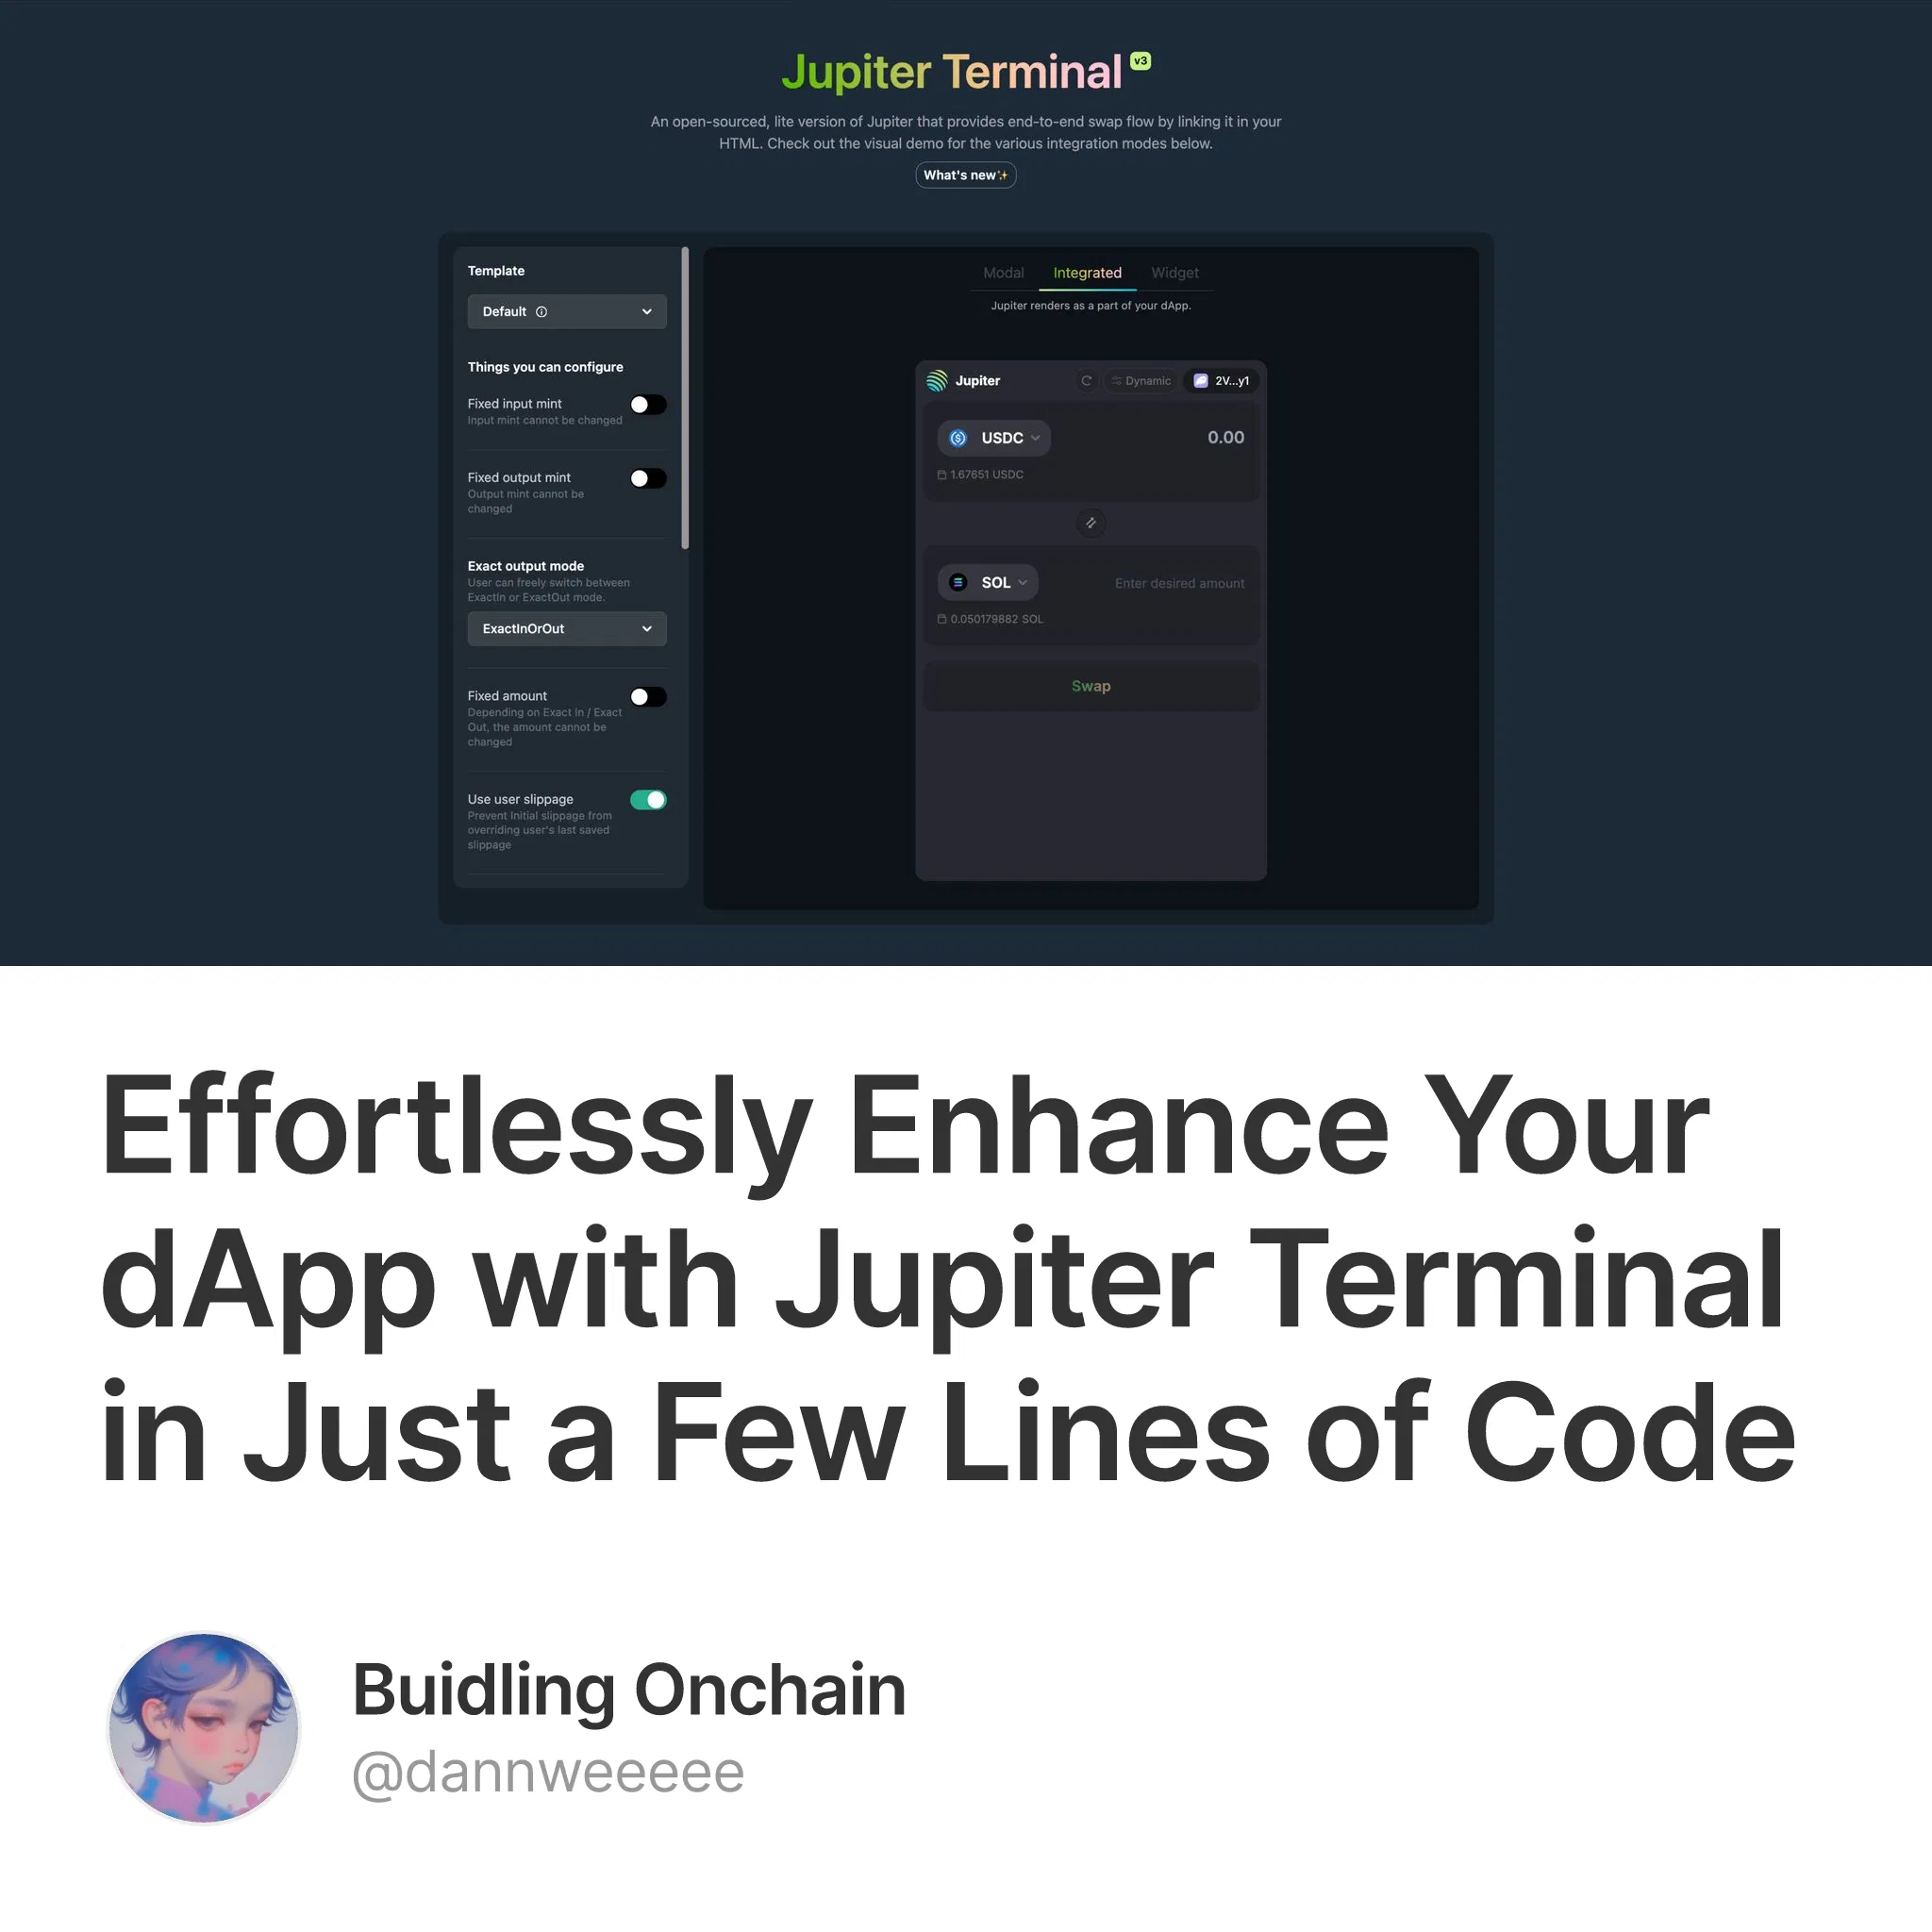
That is exactly what we are exploring today. Introducing Jupiter Terminal, an open-source, lightweight version of Jupiter that seamlessly embeds into your HTML. Imagine your dApp having a swap component that looks and feels just like jup.ag. That is the added power that Jupiter Terminal brings with no unnecessary redirects, no disruptions, just a flawless user experience.
In this Builder Guide, I'll be going through how you can integrate Jupiter Terminal directly into your HTML, while also detailing how you can customize the configurations of the swap terminal, allowing you to choose the display mode that best suit your needs. Additionally, I'll also navigate you through some of the JavaScript technical nuances so that you can successfully build from scratch your own swap Terminal.
So, what exactly is Jupiter Terminal?
Well, think of it as a lightweight, plug-and-play version of what you see on jup.ag. It's core purposes? Delivering a seamless, end-to-end swap flow that you can integrate effortlessly with only just a few lines of code in your HTML.
As of today (03/01/2025) in terms of Space Station's documentation, Jupiter's APIs currently only consists of the Swap V6 API endpoint (which will be deprecated soon) and also the newly improved Swap V1 API endpoint that only contains Manual Mode.
Meanwhile, Jupiter Terminal is already ahead of the curve, fully equipped with Ultra Mode and its cutting-edge innovations, such as:
 Real-time slippage estimation (RTSE) – Leverages real-time swap data from actual users, historical trends, and heuristics to determine the most optimal slippage for each trade, minimizing losses and improving execution efficiency.
Dynamic priority fees – Estimates optimal transaction fees by analyzing network activity, swap size, and interactions with high-traffic accounts, ensuring your transactions are prioritized without unnecessary overpayment.
Optimised transaction landing – Fires transactions across multiple providers simultaneously, increasing the likelihood of successful execution, especially in volatile market conditions.
Jupiter Shield (coming soon) – Designed to enhance security and safeguard swaps from potential risks in token selection.


 23
23
Step-By-Step Guide: Integrating and Configuring Jupiter Terminal in your HTML
To lay the basis, I will be exploring two approaches of how you can integrate Jupiter Terminal into a Typescript React application, both of which begin by embedding a <script> tag in a HTML file. The first method involves initializing the Jupiter object via window object, while the second method leverages the @jup-ag/terminal npm package to initialize Jupiter Terminal.
Declaring Typescript Support (ONLY FOR Typescript React Apps)
As we are building in a Typescript React application for this Builder Guide, we will need to do this step. Since Jupiter Terminal is only importable via CDN, to get proper typing, you will need to create a type declaration file - terminal.d.ts - in your project's types folder and copy the following content.
declare global {
  interface Window {
    Jupiter: JupiterTerminal;
  }
}
Embedding a <script> tag in your HTML file
In today’s development landscape, there are many different React-based frameworks that are widely used for building applications. For this builder guide, we will demonstrate two approaches: one for a plain React application and another specifically for Next.js projects.
React Application Example
In your index.html file, include the following code to allow Terminal to work anywhere in your web application.
<head>
	...
	<script src='https://terminal.jup.ag/main-v4.js' data-preload defer></script>
</head>
Next.js Application Example
For Next.js applications, you can modify your app.tsx or _app.js file with the Next.js built-in next/script component.
import Script from 'next/script';

function MyApp({ Component, pageProps }) {
  return (
    <>
      <Script
        src="https://terminal.jup.ag/main-v4.js"
        strategy="beforeInteractive" // this allows it to load early like a <head> script
		data-preload // custom attribute
		defer // ensures that it does not block parsing
      />
      <Component {...pageProps} />
    </>
  );
}

export default MyApp;
If your Next.js application follows the App Router structure rather than the older Pages Router, you can place the script in the layout.tsx to apply it globally across your application.
import Script from 'next/script';
import type { Metadata } from 'next';
import './globals.css';

export const metadata: Metadata = {
  title: 'Jupiter Terminal Example',
  description: 'Effortlessly Integrate Jupiter Terminal into your dApp',
};

export default function RootLayout({ children }: { children: React.ReactNode }) {
  return (
    <html lang="en">
      <head>
        <Script
          src="https://terminal.jup.ag/main-v4.js"
          strategy="beforeInteractive"
          data-preload
          defer
        />
      </head>
      <body>
        {children}
      </body>
    </html>
  );
}
Now that the Terminal script is embedded in your React application, it’s ready to be used throughout your project. But how do we initialize it?
Method 1 - Initializing a Jupiter object via window object
React Application Example
If you are using a plain React application that contains index.html, you can simply initialize a Jupiter via the window object in your <body>.
<body>
  <h1>Jupiter Swap Demo</h1>
  <div id="jupiter-terminal"></div>
  <script>
    document.addEventListener("DOMContentLoaded", function () {
      const jupiterTerminal = document.createElement('div') // create jupiter terminal div
      jupiterTerminal.id = 'jupiter-terminal'
      document.body.appendChild(jupiterTerminal)

      // initialize jupiter terminal
      window.Jupiter.init({
        displayMode: "integrated",
        integratedTargetId: "integrated-terminal",
        endpoint: "https://mainnet.helius-rpc.com/?api-key=HELIUS_API_KEY",
        formProps: {
          fixedOutputMint: false
        }
      });
    });
  </script>
</body>
Next.js Application Example
For Next.js applications, you can initialize Jupiter Terminal via a useEffect hook and adding a <div> with the id of the terminal that has been declared.
"use client";

import React, { useEffect } from "react";

export default function TerminalExample() {
  useEffect(() => {
    if (typeof window !== "undefined") {
      window.Jupiter.init({
  		displayMode: "integrated",
  		integratedTargetId: "integrated-terminal",
  		endpoint: "https://mainnet.helius-rpc.com/?api-key=HELIUS_API_KEY",
	  });
    }
  }, []);

  return (
    <div>
      <h1>Jupiter Terminal Example</h1>
      {/* This is where the terminal will be embedded */}
      <div id="integrated-terminal" style={{ width: "100%", height: "500px" }}></div>
    </div>
  );
}
Method 2 - Initializing Terminal using @jup-ag/terminal
Alternatively, you can also initialize Jupiter Terminal via the npm package @jup-ag/terminal.
Prerequisites
Install @jup-ag/terminal package
After installing this package, you can use a useEffect hook and initialize Terminal like this.
"use client";

import React, { useEffect } from "react";
import "@jup-ag/terminal/css";

export default function TerminalExample() {
  useEffect(() => {
    if (typeof window !== "undefined") {
      import("@jup-ag/terminal").then((mod) => {
        const { init } = mod;
        init({
          displayMode: "integrated",
          integratedTargetId: "integrated-terminal",
          endpoint: "https://api.mainnet-beta.solana.com",
        });
      });
    }
  }, []);

  return (
    <div>
      <h1>Jupiter Terminal</h1>
      {/* This is where the terminal will be embedded */}
      <div id="integrated-terminal" style={{ width: "100%", height: "500px" }}></div>
    </div>
  );
}
Jupiter Terminal's Display Modes
From the code above, I have demonstrated Jupiter Terminal using only the Integrated display mode. However, Jupiter Terminal is highly versatile and supports a total of three display modes to suit different use cases: Integrated, Widget, and Modal.
For each display mode, I will outline the customizable parameters that allow you to modify the Terminal’s behavior based on your chosen mode.
Integrated Terminal
interface IntegratedTerminal {
  displayMode: "integrated";
  integratedTargetId: string;

  /** Form configuration options */
  formProps: {
    /** Initial amount to swap */
    initialAmount?: string;
    /** When true, user cannot change the amount (e.g. for Payments) */
    fixedAmount?: boolean;
    /** Initial input token to swap */
    initialInputMint?: string;
    /** When true, user cannot change the input token */
    fixedInputMint?: boolean;
    /** Initial output token to swap */
    initialOutputMint?: string;
    /** When true, user cannot change the output token (e.g. to buy your project's token) */
    fixedOutputMint?: boolean;
  };

  /** Restrict token selection to a predefined list */
  strictTokenList: boolean;

  /** Style using CSS properties */
  containerStyles: React.CSSProperties;

  /** Style using Tailwind CSS class names */
  containerClassName: string;

  /** Triggered when an error occurs during the swap process */
  onSwapError?: ({
    error,
    quoteResponseMeta,
  }: {
    error?: TransactionError;
    quoteResponseMeta: QuoteResponse | null;
  }) => void;

  /** Triggered when a swap transaction is successfully completed */
  onSuccess?: ({
    txid,
    swapResult,
    quoteResponseMeta,
  }: {
    txid: string;
    swapResult: SwapResult;
    quoteResponseMeta: QuoteResponse | null;
  }) => void;
}
Widget Terminal
type WidgetPosition = "top-left" | "top-right" | "bottom-left" | "bottom-right";
type WidgetSize = "sm" | "default";

interface WidgetTerminal {
  displayMode: "widget";

  /** Form configuration options */
  formProps: {
    /** Initial amount to swap */
    initialAmount?: string;
    /** When true, user cannot change the amount (e.g. for Payments) */
    fixedAmount?: boolean;
    /** Initial input token to swap */
    initialInputMint?: string;
    /** When true, user cannot change the input token */
    fixedInputMint?: boolean;
    /** Initial output token to swap */
    initialOutputMint?: string;
    /** When true, user cannot change the output token (e.g. to buy your project's token) */
    fixedOutputMint?: boolean;
  };

  /** Restrict token selection to a predefined list */
  strictTokenList: boolean;

  /** When displayMode is 'widget', this is the behaviour and style of the widget */
  widgetStyle?: {
    position?: WidgetPosition;
    size?: WidgetSize;
  };

  /** Triggered when an error occurs during the swap process */
  onSwapError?: ({
    error,
    quoteResponseMeta,
  }: {
    error?: TransactionError;
    quoteResponseMeta: QuoteResponse | null;
  }) => void;

  /** Triggered when a swap transaction is successfully completed */
  onSuccess?: ({
    txid,
    swapResult,
    quoteResponseMeta,
  }: {
    txid: string;
    swapResult: SwapResult;
    quoteResponseMeta: QuoteResponse | null;
  }) => void;
}
Modal Terminal
interface ModalTerminal {
  displayMode: "modal";

  /** Form configuration options */
  formProps: {
    /** Initial amount to swap */
    initialAmount?: string;
    /** When true, user cannot change the amount (e.g. for Payments) */
    fixedAmount?: boolean;
    /** Initial input token to swap */
    initialInputMint?: string;
    /** When true, user cannot change the input token */
    fixedInputMint?: boolean;
    /** Initial output token to swap */
    initialOutputMint?: string;
    /** When true, user cannot change the output token (e.g. to buy your project's token) */
    fixedOutputMint?: boolean;
  };

  /** Restrict token selection to a predefined list */
  strictTokenList: boolean;

  /** Triggered when an error occurs during the swap process */
  onSwapError?: ({
    error,
    quoteResponseMeta,
  }: {
    error?: TransactionError;
    quoteResponseMeta: QuoteResponse | null;
  }) => void;

  /** Triggered when a swap transaction is successfully completed */
  onSuccess?: ({
    txid,
    swapResult,
    quoteResponseMeta,
  }: {
    txid: string;
    swapResult: SwapResult;
    quoteResponseMeta: QuoteResponse | null;
  }) => void;
}
For Modal Terminal, you can create a <button> with an onClick handler function that calls a function that initializes the Jupiter Terminal.
import React from 'react';

export default function ModalTerminalExample() {
  const handleLaunchTerminal = () => {
    window.Jupiter.init({
  		displayMode: "modal",
  		integratedTargetId: "modal-terminal",
  		endpoint: "https://mainnet.helius-rpc.com/?api-key=HELIUS_API_KEY",
	  });
  };

  return (
    <button onClick={handleLaunchTerminal}>
      <span>Launch Terminal Modal</span>
    </button>
  );

}
Summing this step-by-step guide, we explored two approaches to integrating Jupiter Terminal into a TypeScript React application. Both methods involved embedding the Jupiter Terminal script in the application, with initialization handled either through the window object or via the @jup-ag/terminal package using the useEffect hook.
For React applications, we demonstrated how to include the script in index.html and initialize Jupiter Terminal within the <body>. For Next.js applications, we leveraged Next.js built-in next/script component and integrated the terminal either in _app.js, layout.tsx, or inside a specific page component using useEffect.
With Jupiter Terminal now set up in your application, you can take advantage of its three display modes—Integrated, Widget, and Modal—to best suit your needs.
Conclusion
Jupiter Terminal revolutionizes swap integration by providing a lightweight, open-source solution that seamlessly embeds into your dApp with minimal effort. Whether you want a fully embedded experience, a floating widget, or a sleek modal, Jupiter Terminal adapts to your design needs while maintaining quality end-to-end swaps without unnecessary redirects or disruptions.
I hope that this guide has provided you with a clear and practical understanding of how to integrate Jupiter Terminal into your dApp, enabling you to streamline swap functionality with minimal effort. Whether you’re building with React or any React-based frameworks, leveraging window-based initialization or the @jup-ag/terminal package, you now have the tools to create a seamless and efficient swap experience for your users.
As Jupiter Terminal continues to evolve, integrating it into your dApp ensures that you’re always at the forefront of Solana DeFi innovation.
Welcome to the Jupiverse